Showing posts with label tutorial. Show all posts

20.12.13

{DIY} Christmas Topiary Tutorial

I am back today with an gorgeous tutorial on how to make an topiary ball for Christmas decor or really any holiday. Get creative about the things you could use, the sky is the limit. I created two of these gorgeous topiary's for an magazine photo-shoot with my friend Gretchen from Three Little Monkey's Studio for an feature in Vintage KC Magazine, that Gretchen styled. The online edition can be found here.


 Gretchen is an amazing stylists and graphic designer as well. We first meet last April at SNAP, but were friends online for some time before officially meeting. She is equally as sweet in person and she's known to be online, love her :) The image below is an picture taken by Oh So Lovely Creative from the Vintage KC shoot. Love how Gretchen styled everything.


SUPPLIES PER TOPIARY: 1 large cinnamon stick (Hobby Lobby Christmas Department), 1 bags of Vase filler (found in Christmas isle at HL), Hot glue gun and sticks, 6 inch foam styrofoam ball, 1 brick of Styrofoam, container or urn, mini acorns or accents, ribbon, crystal accent button or brooch, thin piece of jewelry wire, red glitter, butter knife


First, prepare your supplies and plug in your hot glue gun. Start by piercing an hole into the Styrofoam ball about halfway through. Apply some hot glue to the end of an straight cinnamon stick and secure into foam ball.


Then, gather your vase filler accents and begin by gluing them unto the ball. Only do a little section at a time because it will dry fast. Stick an few of the mini red balls unto the glue and while still wet sprinkle the gaps of glue with red glitter to hide. Placing an piece of paper underneath the glitter helps to catch the falling glitter for reuse. Continue to do this until you have covered the whole area around.


 Next, take your urn or container that you will stick the topiary into and prepare it by cutting the foam with a butter knife and packing the container with the foam pieces.

Next, pierce the foam and glue the other end of the cinnamon stick into the foam and secure. Now, you are going to fill the bottom foam with accents of your choice.


Then, Tie an bow unto the topiary how you would like. Secure the broach by taking an piece of thin wire and weaving it through the knot on the bow. Pull tight and wrap the loose ends around the back of the brooch until the ends are hidden. This method helps secure the brooch better, than just gluing it on. 


 Now, you have an beautiful holiday topiary for your home or gathering. Duplicate these steps as much an you like to make as many as you wish. Don't forget this is adaptable for different holidays. Get creative with the supplies you use. {If you would life to seal the top part of your topiary for longevity you can spray with acrylic sealer found in spray paint department prior to attaching to the base, in an open and ventilated area}


 Enjoy and Merry Christmas!


Pin It!

25.10.13

{DIY} Black Lace Halloween Banner Tutorial

Here I am today back, with an easy lace tutorial I hope you enjoy. It's so easy and you can alter it for different holidays or events Enjoy!

Supplies
1.5 yards of Lace * Scissors * Martha Stewart Fabric Stiffener * Templates found HERE* Sewing pins 
4 Pieces of heavy cardstock * Embellishments * Glue gun or Adhesive * 3 yards of ribbon 
foam brush * hole punch* 3 inch Scalloped Paper Punch Optional 

First, Print all templates found HERE on heavy duty card-stock of choice. Cut out the pennant template. Pin the template to the top of the lace and cut out 15 pennants from the lace.


Next, grab an piece of plastic or paper scrap paper and lay as many pieces of the cut lace out as you can. Take your fabric stiffener and lightly saturate the ribbon using the foam brush. {MAKE
 SURE YOU POP ANY BUBBLES THAT HAVE FORMED ON THE LACE BEFORE IT DRIES}Set aside to dry. 


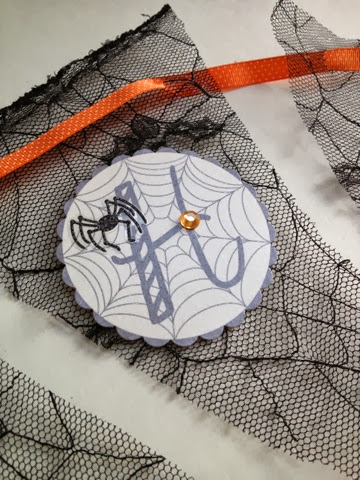
Then, while the lace is drying take your templates with the words "Happy Halloween" and use the punch to punch out the letters. Once, they are punched out use any embellishments you want to add to the die cuts. 


Take your dried lace pennants and punch holes in the top to string ribbon. Next, string your pennants on the ribbon in anyway you would like. 


Embellish! I used Martha Stewart spider stickers and gemstones. 


Lastly, attach the die cuts in order with hot glue gun or adhesive.If you don't want them to be attached permenatley then consider Velcro or some removable adhesive. 


Hang banner up and enjoy! 


Hope you liked this easy banner. Feel free to e-mail any competed projects to greysondesign@yahoo.com. I love to share customer photos. 


Pin It!

14.2.13

Carnation Sundae {DIY}

Happy Thursday loves! Today, I have the cutest little party floral arrangement DIY for you. Back in December, I had the privilege to style a look book shoot for a local company here in Grand Rapids called Dreamspun. Korrie the Owner and I took a playful approach on a "girls party gone wild" theme. We created a whimsical, fun and colorful shoot with a few different looks. I thought back to my floral design days and working as a florist (where my passion first began) and when use to create similar arrangements for the local hospitals in town. Carnation sundaes were always a hit and so simple and cute. These carnations sundaes are just adorable for any kids party and so simple to create. They are sweet enough to almost eat ;) or not.. Enjoy!

  ♥    ♥    ♥    ♥    ♥    ♥    ♥    ♥
Supplies:  glass gems, fountain glass or old fashioned sundae, clippers, 8 carnations, water and a cherry
 1. Fill glass ½ way with water.
2. Place glass beads or stones in cup all fill until ½ way full
3. Cut carnations short enough to fit in glass without touching bottom of sundae glass.
4. Place 5 carnations around the perimeter of the glass, and push them down into the stones to cover stems.
5. Place the last 3 carnations on top of the previous carnations to form a second layer.
6. Place a real cherry on top or a fake one works just as well. 
 Enjoy your sweet creation!

Bottom photo captured by the lovely Carrie Ann Photography
Dreamspun Website
Pin It!

21.12.12

Gold Dipped Ornament Tutorial

Well, today is officially my last tutorial for 2012. I am so excited and will be doing a lot more tutorials for the upcoming year. I am really thinking about recording some too! Just maybe you will be embraced with my silly voice ;) Today, I have a lovely and fun project. A few weeks ago I participated in my very first ornament swap with Southern Weddings! I have to say it has been a blast and I absolutely loved every ornament I received. The girls at SW really know how to put things together ;) 
I wanted to think of a creative way to use no other than, liquid gold. For some reason this month I have been brainstorming fun and lovely ways to use the stuff to pretty up things, without going broke. I have actually been making these ornaments for a few years now, but changed it up a bit this year. Usually, I will print the picture or stamp an image or saying on a transparency. This time I decided to go a different direction with the lovely ornament I made for the gals at Southern Weddings magazine. 
See SW just launched their fabulous 5th issue of Southern Weddings and it kind of is a big deal y'all. It only felt right that  my ornament for them pay tribute to all their hard work for what I feel is the best issue yet to come out of SW! Their theme this year was "Love Never Fails" designed in gold lettering, so I took that idea and ran with it. I was able to obtain a picture of the SW team from the latest issue and incorporated that into the ornament as well, along with some bling (of course). 

Come and enjoy the lovely details  that went into making this ornament so special. So pick your peas and come take a look.  
 
Southern Weddings Ornament Tutorial  
 Supplies: 1 large glass/plastic ornament, Ribbon of choice, fishing line, 5-6 beads or embellishments, printed photo sized to fit in ornament, scissors, fluff trim, glue gun, liquid gold, masking or painters tape, foam brush, old bowl that you don't mind getting stained with liquid gold, and hole punch


The first step you will want to take is wrap painter's tape around the bottom portion or ornament, not to high. Take liquid gold and paint in the very bottom portion of ornament. Take of cap and let rest in secure place on opening of ornament. Let dry 20 minutes before handling.  
 Next, Cut out shape you desire to size that will fit in ornament. Punch hole at top of the picture. 


 Next, take piece of fishing wire, about 10 inches long and weave one side through holes in ornament top. Make sure you end up on the bottom side of top. 


With the other side on the line string through hole in picture. Then, you will want to string beads on the line. 


Weave the last side of the fishing line through one of the holes in the top and come out the opposite hole. Make sure once again you are coming out the bottom side of the top.


If you would like to write a message on the back of the picture you may do so at this time. Adds a great detail. 

Next. roll the picture into a scroll small enough to fit through top of opening. 


With a dab of hot glue apply to top inside or cap. Let it cool off a moment before adhering fishing line to it. This will help to keep the line in place. 


Lastly, add any extra details with puffy paint, charms, or liquid gold. Once done you can glue on your fluffy trim or ribbon around top perimeter of ornament. Making sure to tuck in the end of the ribbon and secure with hot glue. Tie a coordinating ribbon on top to hang and hang from tree! 
Enjoy! 

 
Tip: Once you are done, paint the inside of your bowl with liquid gold. This gives you a unique bowl to use as you please. Not recommended for direct contact with food, decorative use only. 


Thank you all for following my tutorials this month, I hope you do try some of my projects out and come back soon. Have a blessed Christmas and a healthy, successful and joyful New Year's. 

Pin It!

20.12.12

{Lovely Packaging} Tutorials

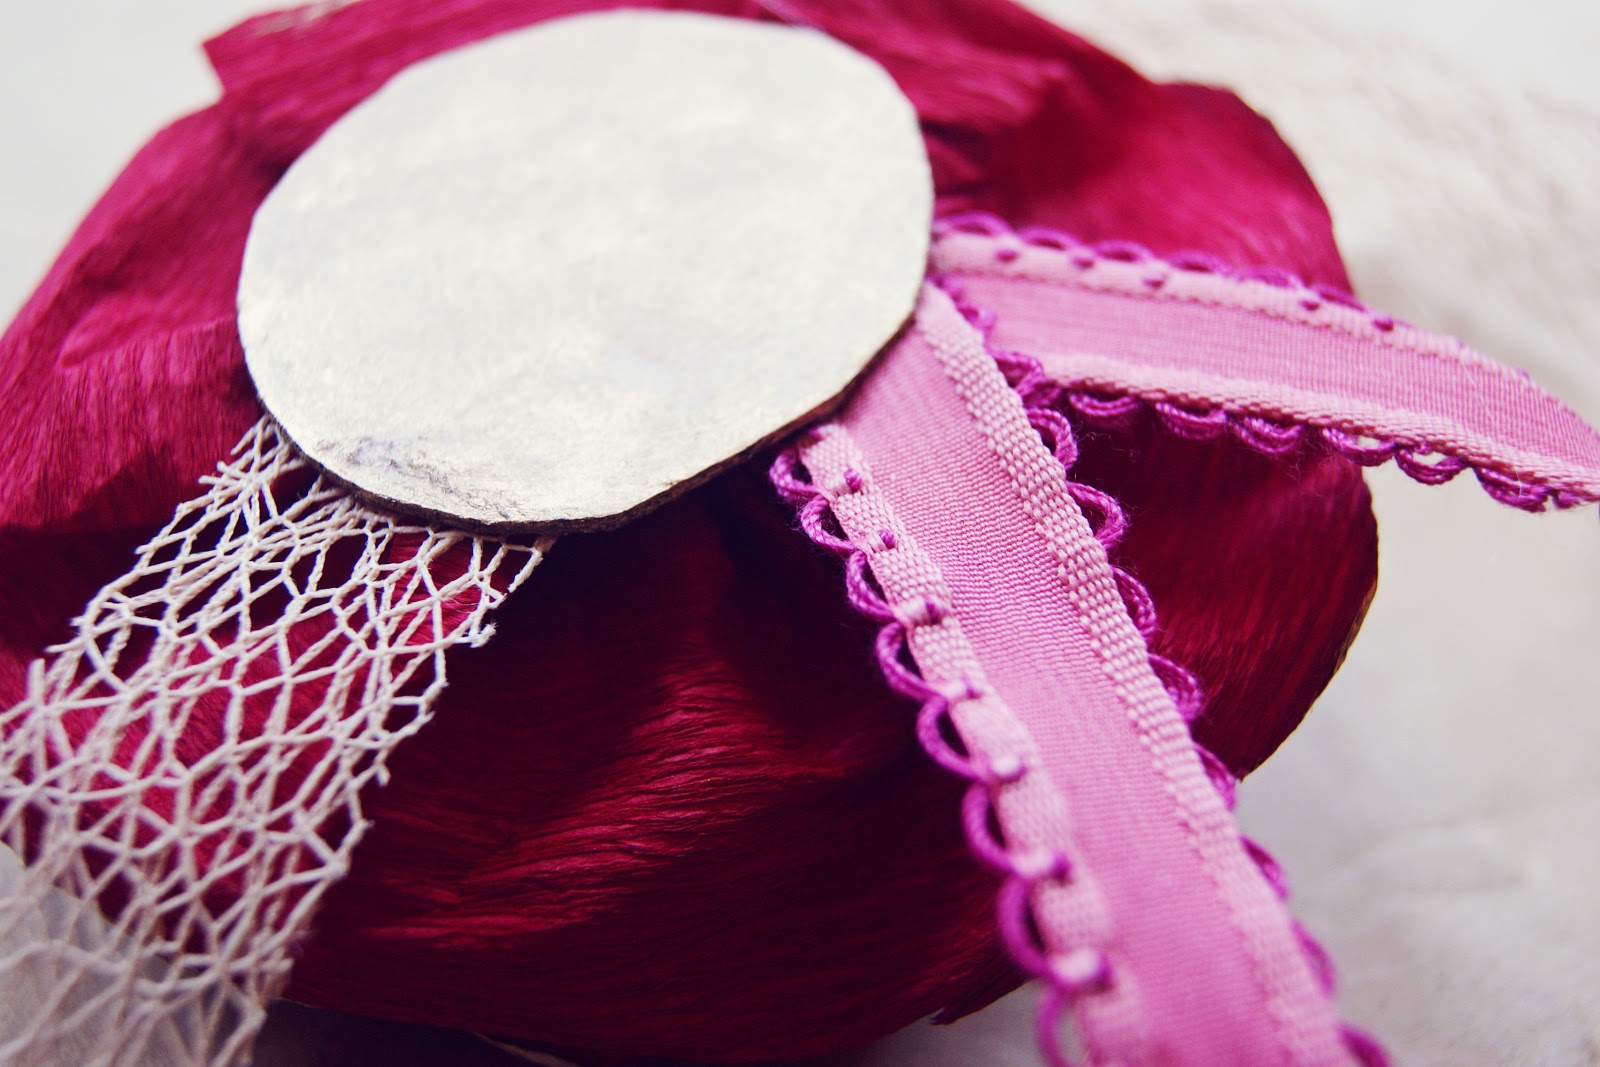
As I am winding down this month with my last few tutorials, I believe I have saved the best for last. :) These DIY tutorials are for those of you that need some extra spunk in your gift wrapping this year, or last minute lovelies! Here are two, yes two easy tutorials for you to easily add to make your gifts gorgeous! The first tutorial is taken from my love for liquid gold. If you follow me on Facebook here then you would have seen my expressions for the beauty I refer to as liquid crack :) The stuff is so easy to use and can be quite addicting. I have created a crepe paper flower and finished it off by adding yes, you guessed liquid gold. Such an easy and sophisticated way to add something lovey to a package. 

Crepe Paper Rose 
Supplies: glue gun, ribbon of choice, scissors, 2 pieces of crepe paper, chipboard or cardboard, decorative box, liquid gold, sponge brush, needle and thread, button of choice.


First, cut the crepe paper into strips, about 6.  Then cut any decorative detail along one edge of the crepe paper. 


Next, stitch along the straight edge and stitch together about 3 pieces of crepe paper. Once finished it will form a straight line. Do not take the needle off yet.
 

Then, you will want to push one edge of the crepe paper to make it gather, while holding the opposite end so don't push off the other side. 


Next, once gathered how you prefer, tie both ends of the thread into an double knot. Make sure you keep the needle on the thread still. 
 

Now, with the needle still on the thread, poke it through the flower to the front side, in the middle. Then string a button unto and secure to flower by stitching 3-4 times. Finish thread on back side and tie off. Any loose thread can be cut off at this point.


This is what the flower should resemble. 


Now, for the best part :) Gather your liquid gold, foam brush, and flower. 


 Shake the liquid gold and remove the top carefully. Dip the sponge brush just in the cap, there is usually plenty in just the cap for this step. Lightly, brush the edges of the flower with the liquid gold. Once you achieve the desired look, set aside to dry for about 10 minutes.


While the flower is drying you can prepare the next step. Take you piece of chipboard and cut about a 1.5 inch circle out. It does not have to be perfect. Once it is cut, you will want to cover one side with the liquid gold and set aside to dry as well. 


Now, you will want to measure your box and according to that cut a piece of ribbon, with about 1.5 inches added on. Once you chipboard is dry you will want to take a piece of ribbon about 2.5 inches long. Bend your your 1.5 piece of ribbon into a loop like shown below. Apply hot glue to chipboard and attach end of wrapping ribbon, looped ribbon unto the back of the flower.


Lastly, you can wrap the flower around the box and finish it off with a dab of hot glue or a magnet so it can be used over and over.


Now enjoy the gorgeous! 


The second tutorial I have for you all today, is a snowflake ribbon weaved technique, with a easy paper flower. If you didn't know already I just love the combination of silver and blue. This color combination was taken from the inspiration of my logo. I wanted to add a element of sophistication by make it easy for you all to follow. I hope that you enjoy what I have prepared for you all today! I will be back with my last tutorial on Friday, and you won't want to miss, just in time for any last minute creative Christmas presents you many still need. After all, it pays a fun tribute to the ladies of Southern Magazine. A publication I just adore and the ladies behind it are absolute dolls and as sweet as tea. If you haven't checked Southern Weddings out before hop on over here, hope to see y'all soon! :)

Snowflake Weaving Packaging 
Supplies: 3 scalloped punches in various sizes, Circle Punch( 1 inch- 2 inches), Snowflake ribbon, Button, Scissors, Double Sided Adhesive, Pen, 3 Pieces of Embellished Paper, Weaving Ribbon of Choice 


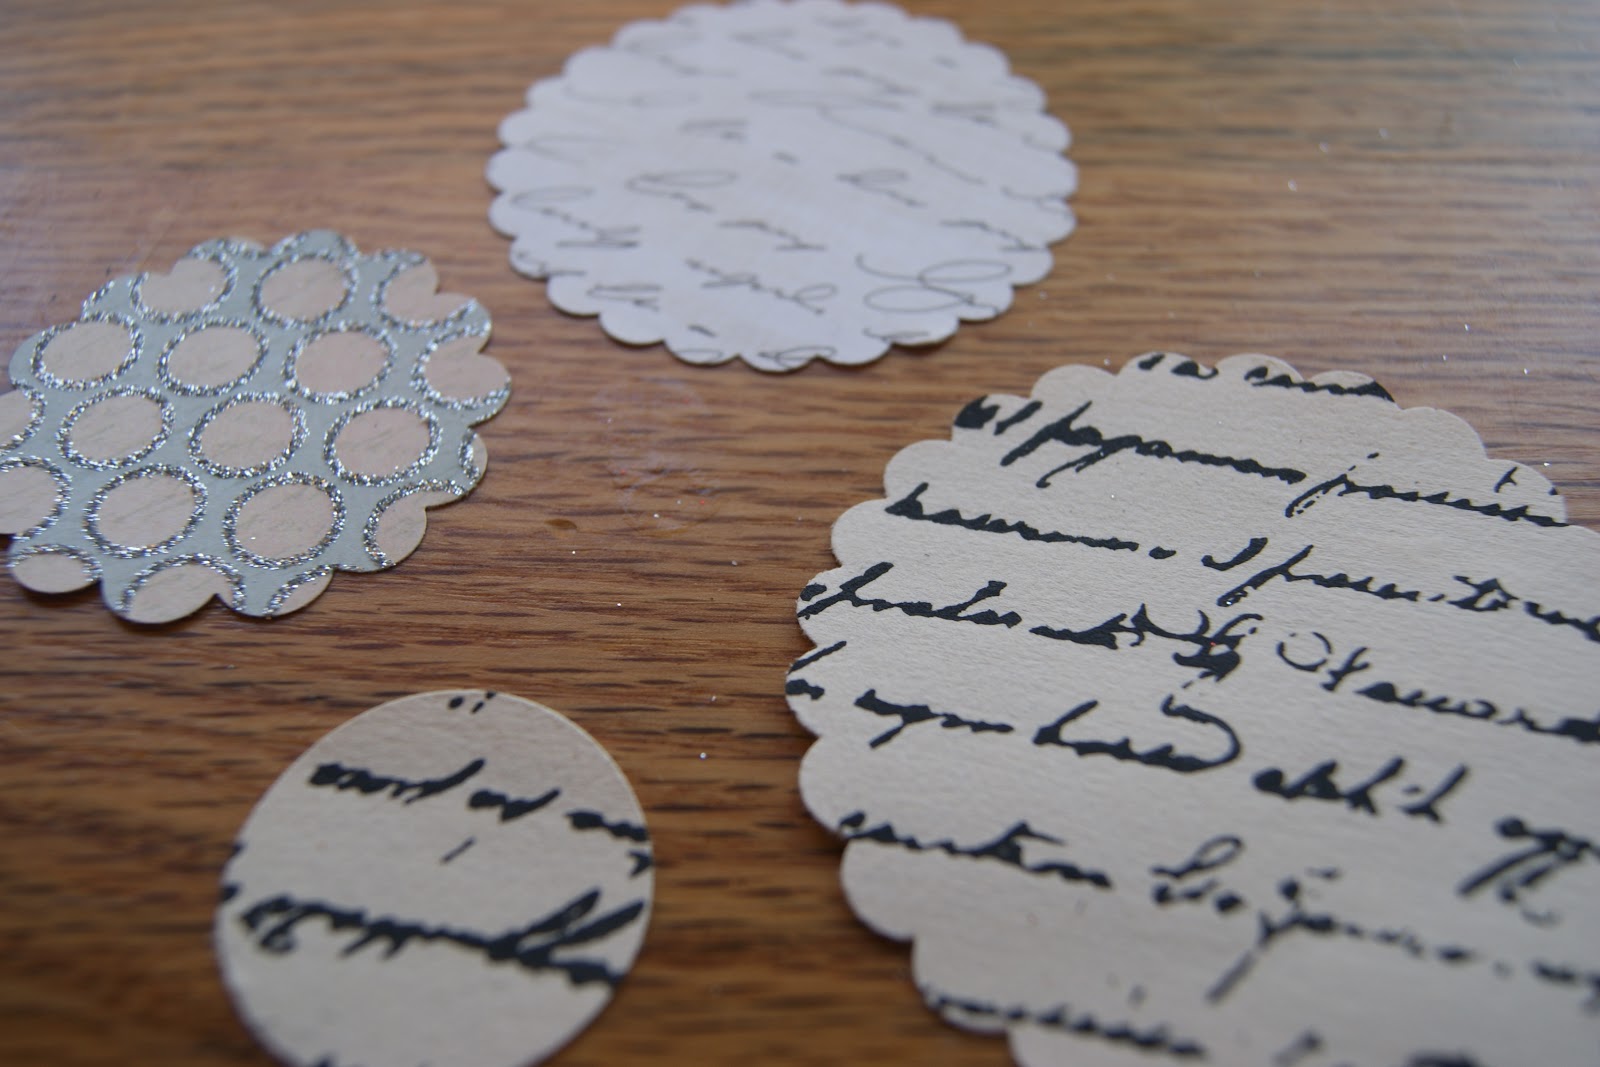
First, punch out 3 scallops, one in each size and from each piece of paper. Also, punch out 1 circle from paper of choice.


Once punched out, make scissor slits along each scallop on each one, and fold up edges. 


 Next, place scallops starting from back, biggest to smallest. 


Then, you can glue or using double sided tape, adhere the button to the center of the top circle. 

Next, take your snowflake ribbon, measure around the outside of box with about 1 inch to overlap, and clip with scissors.Then, weave in and out as you would like.


Once done weaving, wrap around box and adhere bottom side of top ribbon to top side of bottom ribbon.

  
It, should now look something like this. Note: If you do not have snowflake ribbon, try changing it up by braiding ribbons, looping them or even weaving.


Next, you can weave in some extra embellishments. Use your imagination. I got these from the wedding isle at a local craft store. I often use these embellishments in floral arrangements to add fun details. 

Lastly, adhere the flower to the top of the ribbon with hot glue or double sided tape. 


I added a label stamp in the bottom of my package, and wrote the recipient's name to add a special touch. 


If you need some adorable and coordinating Christmas tags like below to go my sweet friend Gretchen at Three Little Monkey's Studio designed these and can be found on Catch My Party here


Pin It!