As I am winding down this month with my last few tutorials, I believe I have saved the best for last. :) These DIY tutorials are for those of you that need some extra
spunk in your gift wrapping this year, or last minute lovelies! Here
are two, yes two easy tutorials for you to easily add to make your gifts
gorgeous! The first tutorial is taken from my love for liquid gold. If
you follow me on Facebook
here
then you would have seen my expressions for the beauty I refer to as
liquid crack :) The stuff is so easy to use and can be quite addicting. I
have created a crepe paper flower and finished it off by adding yes,
you guessed liquid gold. Such an easy and sophisticated way to add
something lovey to a package.
Crepe Paper Rose
Supplies: glue gun, ribbon of choice, scissors, 2 pieces of crepe paper, chipboard or cardboard, decorative box, liquid gold, sponge brush, needle and thread, button of choice.
First, cut the crepe paper into strips, about 6. Then cut any decorative detail along one edge of the crepe paper.
Next, stitch along the straight edge and stitch together about 3 pieces of crepe paper. Once finished it will form a straight line. Do not take the needle off yet.
Then, you will want to push one edge of the crepe paper to make it gather, while holding the opposite end so don't push off the other side.
Next, once gathered how you prefer, tie both ends of the thread into an double knot. Make sure you keep the needle on the thread still.
Now, with the needle still on the thread, poke it through the flower to the front side, in the middle. Then string a button unto and secure to flower by stitching 3-4 times. Finish thread on back side and tie off. Any loose thread can be cut off at this point.
This is what the flower should resemble.
Now, for the best part :) Gather your liquid gold, foam brush, and flower.
Shake the liquid gold and remove the top carefully. Dip the sponge brush just in the cap, there is usually plenty in just the cap for this step. Lightly, brush the edges of the flower with the liquid gold. Once you achieve the desired look, set aside to dry for about 10 minutes.
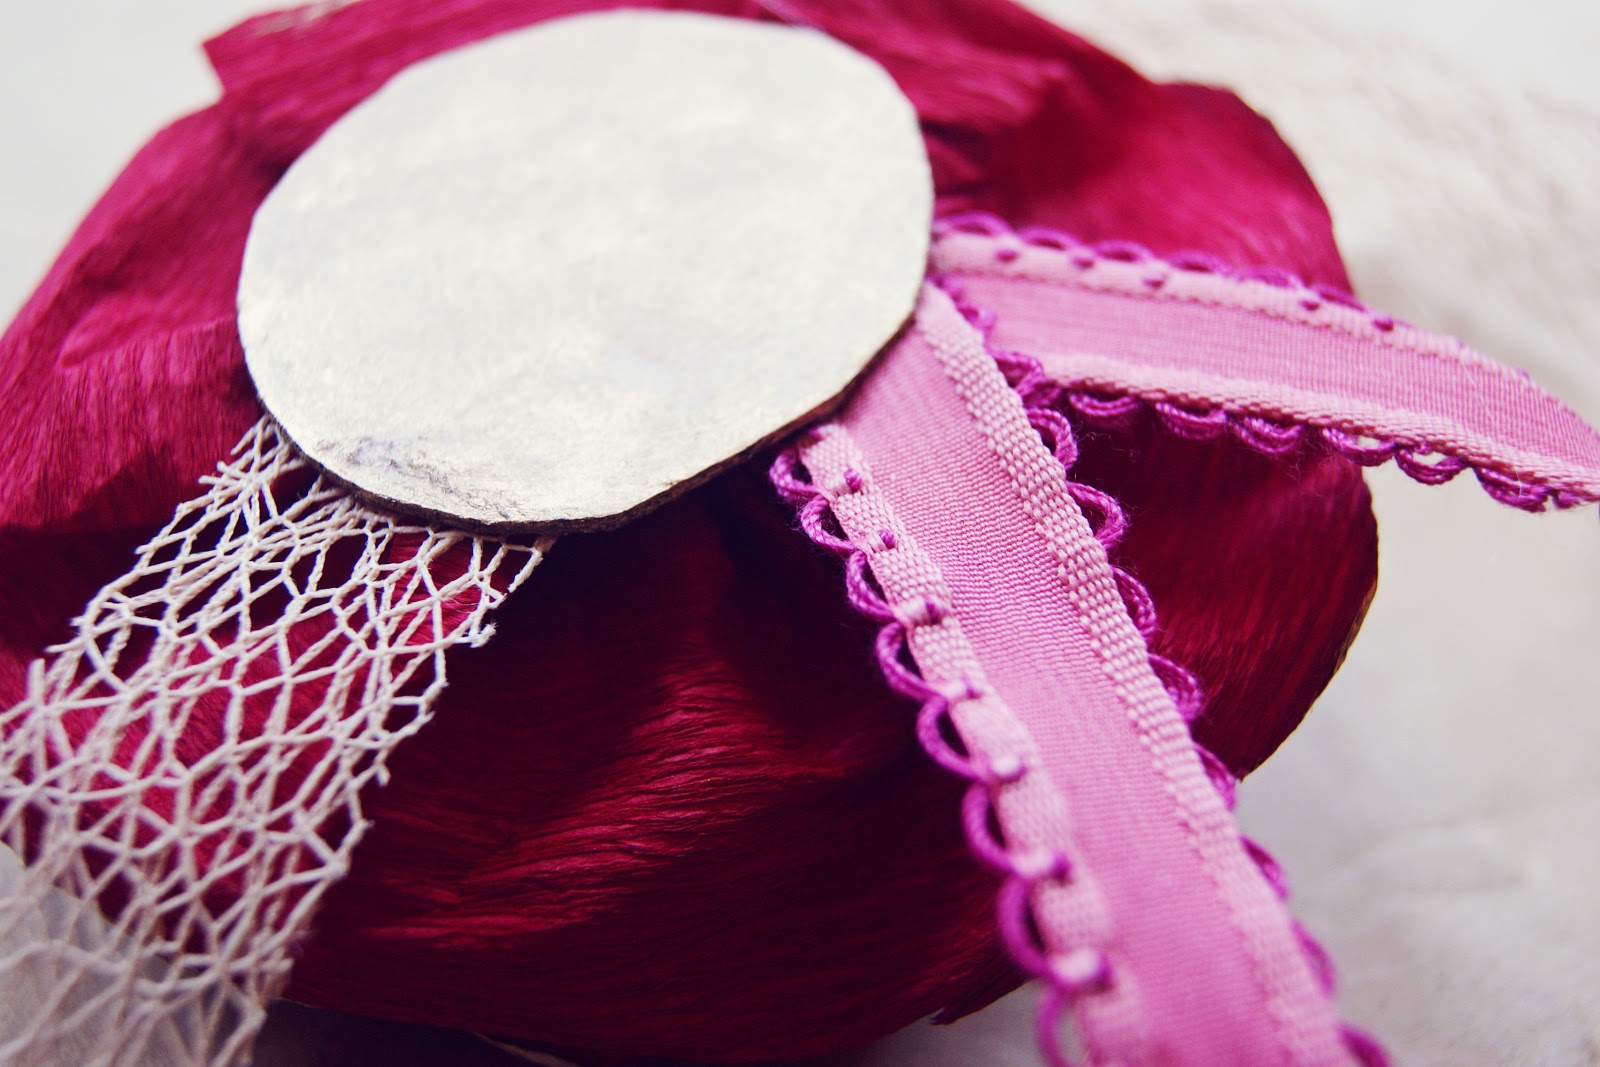
While the flower is drying you can prepare the next step. Take you piece of chipboard and cut about a 1.5 inch circle out. It does not have to be perfect. Once it is cut, you will want to cover one side with the liquid gold and set aside to dry as well.
Now, you will want to measure your box and according to that cut a piece of ribbon, with about 1.5 inches added on. Once you chipboard is dry you will want to take a piece of ribbon about 2.5 inches long. Bend your your 1.5 piece of ribbon into a loop like shown below. Apply hot glue to chipboard and attach end of wrapping ribbon, looped ribbon unto the back of the flower.
Lastly, you can wrap the flower around the box and finish it off with a dab of hot glue or a magnet so it can be used over and over.
Now enjoy the gorgeous!
The second tutorial I have for you all today, is a snowflake ribbon weaved technique, with a easy paper flower. If
you didn't know already I just love the combination of silver and blue. This
color combination was taken from the inspiration of my logo. I wanted to
add a element of sophistication by make it easy for you all to follow. I
hope that you enjoy what I have prepared for you all today! I will be
back with my last tutorial on Friday, and you won't want to miss, just in
time for any last minute creative Christmas presents you many still
need. After all, it pays a fun tribute to the ladies of Southern
Magazine. A publication I just adore and the ladies behind it are
absolute dolls and as sweet as tea. If you haven't checked Southern Weddings out before
hop on over
here, hope to see y'all soon! :)
Snowflake Weaving Packaging
Supplies: 3 scalloped punches in various sizes, Circle Punch( 1 inch- 2 inches), Snowflake ribbon, Button, Scissors, Double Sided Adhesive, Pen, 3 Pieces of Embellished Paper, Weaving Ribbon of Choice
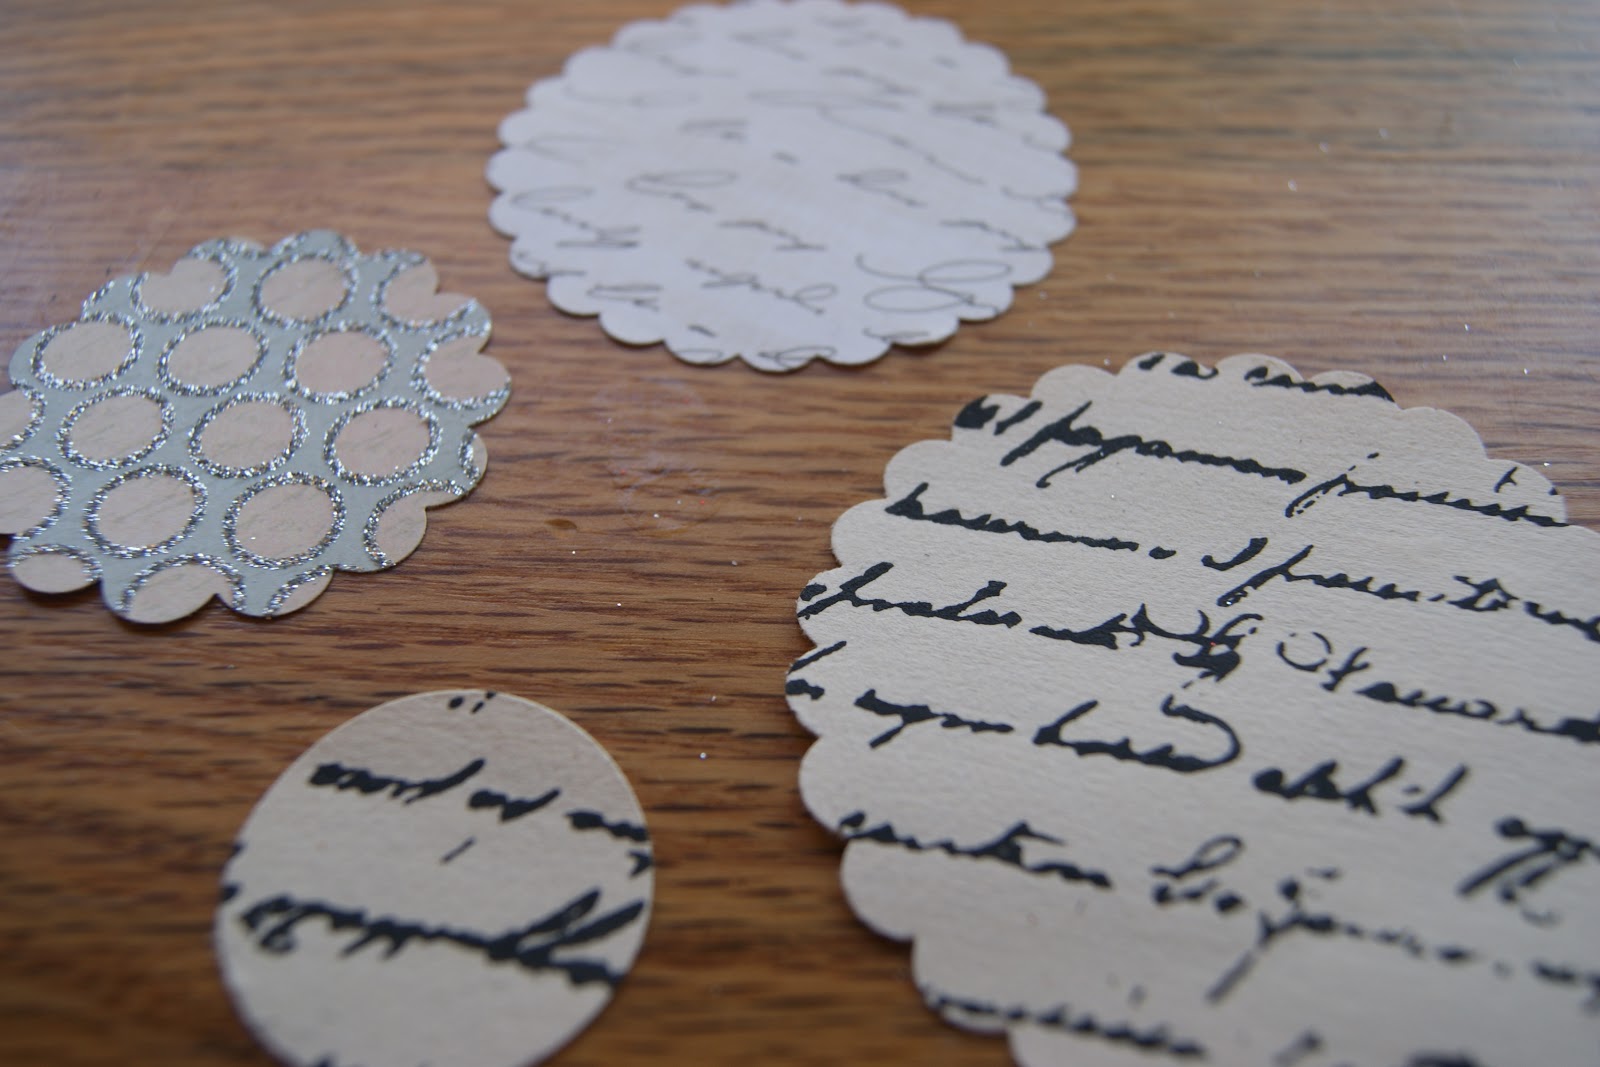
First, punch out 3 scallops, one in each size and from each piece of paper. Also, punch out 1 circle from paper of choice.
Once punched out, make scissor slits along each scallop on each one, and fold up edges.
Next, place scallops starting from back, biggest to smallest.
Then, you can glue or using double sided tape, adhere the button to the center of the top circle.
Next, take your snowflake ribbon, measure around the outside of box with about 1 inch to overlap, and clip with scissors.Then, weave in and out as you would like.
Once done weaving, wrap around box and adhere bottom side of top ribbon to top side of bottom ribbon.
It, should now look something like this. Note: If you do not have snowflake ribbon, try changing it up by braiding ribbons, looping them or even weaving.
Next, you can weave in some extra embellishments. Use your imagination. I got these from the wedding isle at a local craft store. I often use these embellishments in floral arrangements to add fun details.
Lastly, adhere the flower to the top of the ribbon with hot glue or double sided tape.
I added a label stamp in the bottom of my package, and wrote the recipient's name to add a special touch.
If you need some adorable and coordinating Christmas tags like below to go my sweet friend Gretchen at Three Little Monkey's Studio designed these and can be found on Catch My Party here