
Here I am today back, with an easy lace tutorial I hope you enjoy. It's so easy and you can alter it for different holidays or events Enjoy!


Supplies
1.5 yards of Lace * Scissors * Martha Stewart Fabric Stiffener * Templates found HERE* Sewing pins
4 Pieces of heavy cardstock * Embellishments * Glue gun or Adhesive * 3 yards of ribbon
foam brush * hole punch* 3 inch Scalloped Paper Punch Optional
First, Print all templates found HERE on heavy duty card-stock of choice. Cut out the pennant template. Pin the template to the top of the lace and cut out 15 pennants from the lace.


Next, grab an piece of plastic or paper scrap paper and lay as many pieces of the cut lace out as you can. Take your fabric stiffener and lightly saturate the ribbon using the foam brush. {MAKE
SURE YOU POP ANY BUBBLES THAT HAVE FORMED ON THE LACE BEFORE IT DRIES}Set aside to dry.

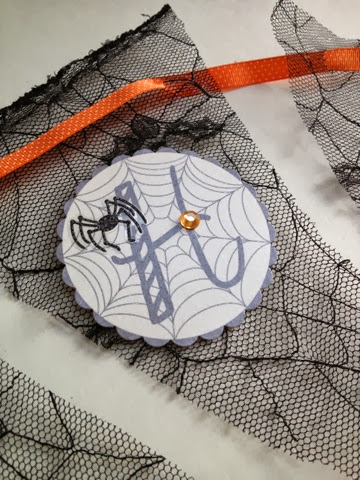
Then, while the lace is drying take your templates with the words "Happy Halloween" and use the punch to punch out the letters. Once, they are punched out use any embellishments you want to add to the die cuts.


Take your dried lace pennants and punch holes in the top to string ribbon. Next, string your pennants on the ribbon in anyway you would like.

Embellish! I used Martha Stewart spider stickers and gemstones.


Lastly, attach the die cuts in order with hot glue gun or adhesive.If you don't want them to be attached permenatley then consider Velcro or some removable adhesive.

Hang banner up and enjoy!

Hope you liked this easy banner. Feel free to e-mail any competed projects to greysondesign@yahoo.com. I love to share customer photos.


No comments:
Post a Comment